

Farmhouse Buffet
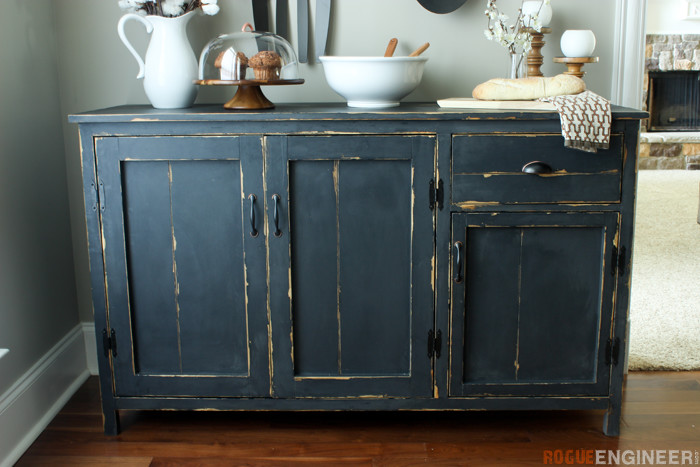
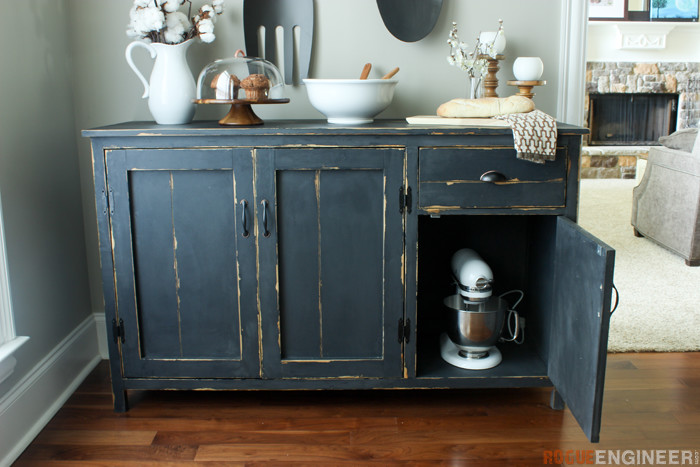
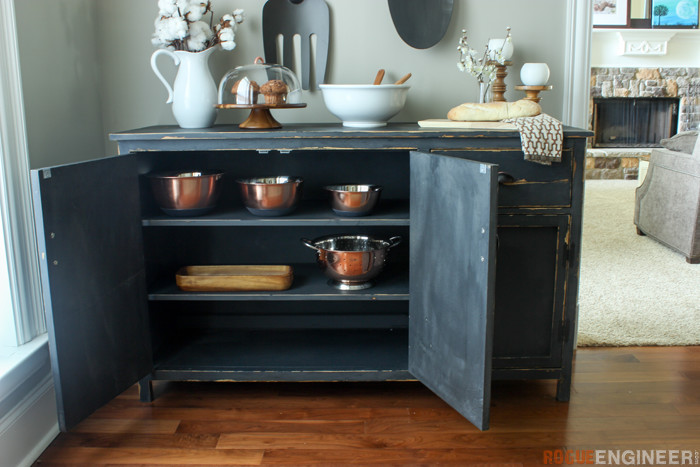
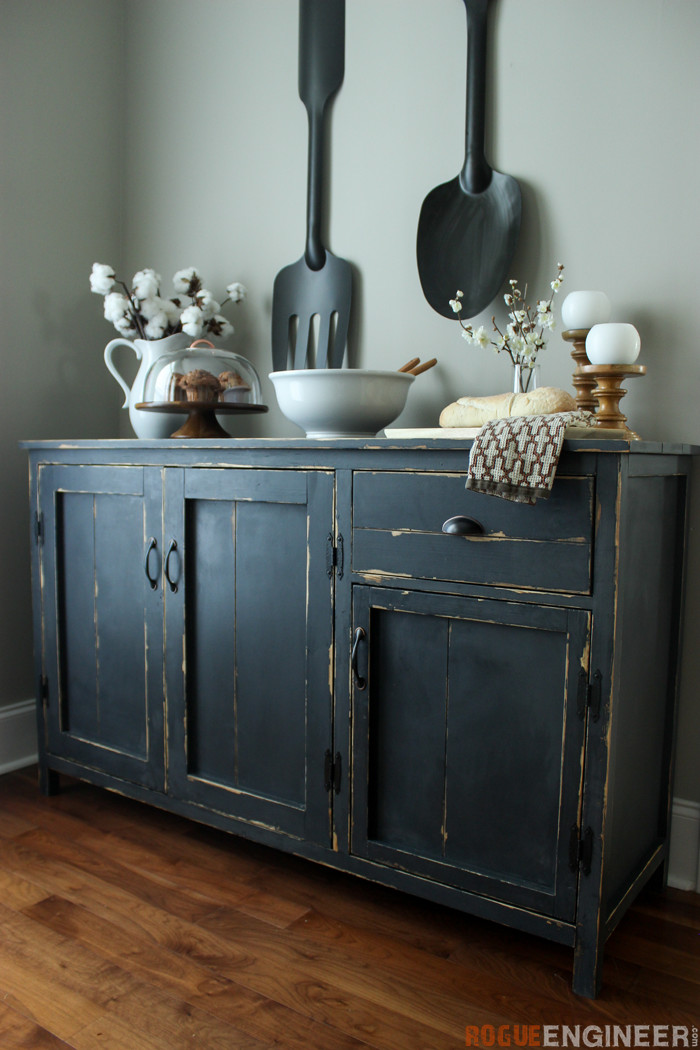
I think part of my wife’s daily routine is online shopping, and not to actually buy anything (luckily), but to get ideas for me to build. Well she found this buffet table from Pottery Barn and fell in love. I knew it was going to be a bit more involved than she made it sound, but the end result turned out great! We love this piece and I saved you all the struggle and have included the simple step by step instructions on how you too can build this farmhouse buffet table inspired by Pottery Barn. Enjoy!
For sneak peeks of our upcoming projects be sure to follow me on Facebook and Instagram. Also, follow me on Pinterest to get tons of projects plans from all around the web!
Required Tools

Materials
- Qty 1 – 3/4″ x 48″ x 96″ Plywood
- Qty 1 – 1/4″ x 48″ x 96″ Plywood
- Qty 2 – 2 x 4 x 96″ Premium Studs
- Qty 4 – 2 x 2 x 96″
- If you don’t have a good selection you can rip 2 from a single 2×4.
- Qty 1 – 1 x 8 x 8′
- Qty 1 – 1 x 8 x 6′
- Qty 2 – 1 x 6 x 6′
- Qty 2 – 1 x 4 x 8′
- If you have access to 1x3s get those. (See cut list)
- Qty 2 – 1 x 2 x 8′
- 2-1/2″ Kreg Pocket Hole Screws (Coarse)
- 1-1/4″ Pocket Hole Screws
- 1-1/4″ Brad Nails
- 3/4″ Brad Nails
- 1-1/4″ Wood Screws
- 2″ Wood Screw
- 16″ Drawer Slides
Disclosure: The links provided in the “materials” and “required tools” sections are affiliate links. If you would like to support our site and help keep our content free come find out more about how we can make money with no extra cost to you.
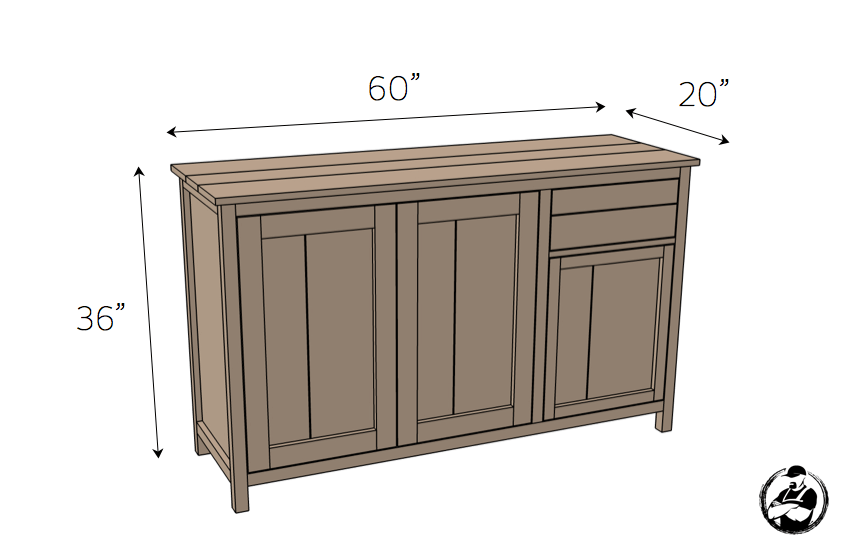
Dimensions
Cut List
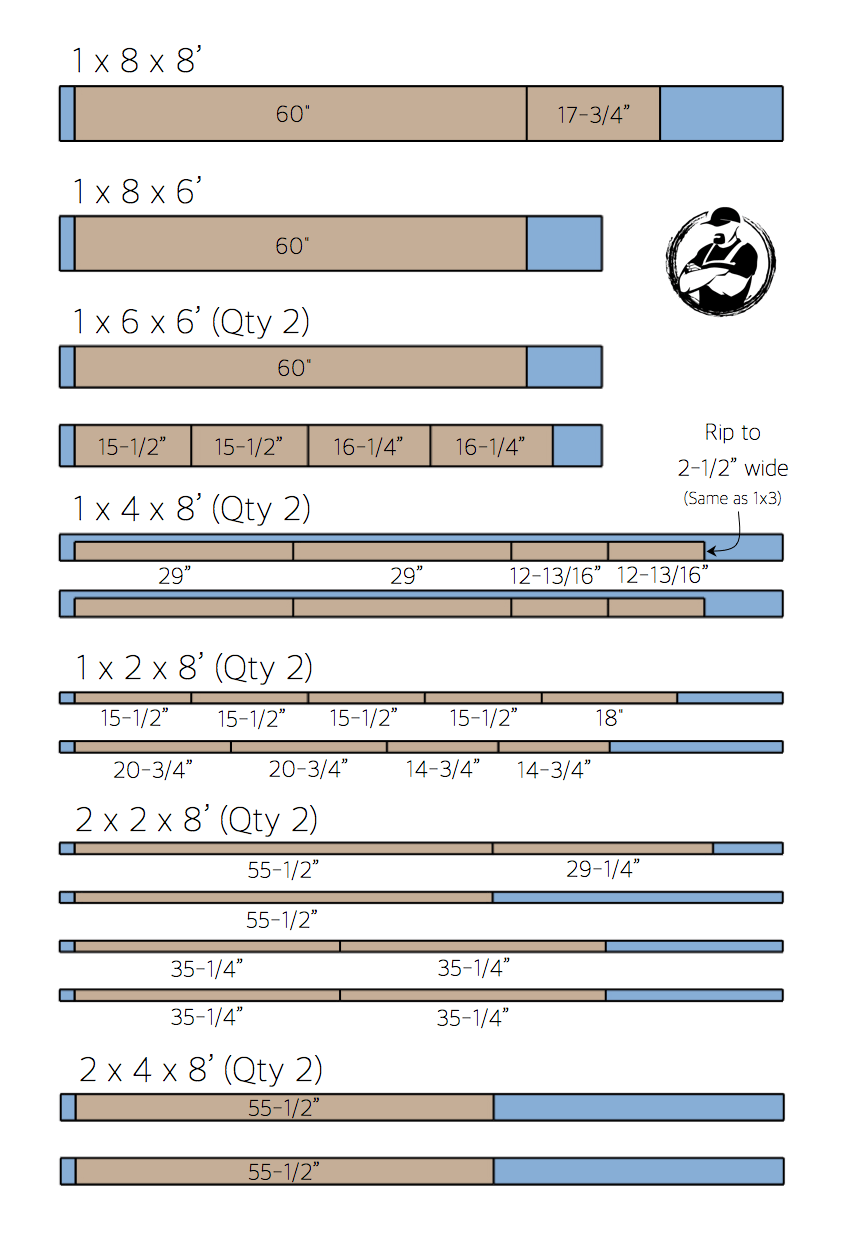
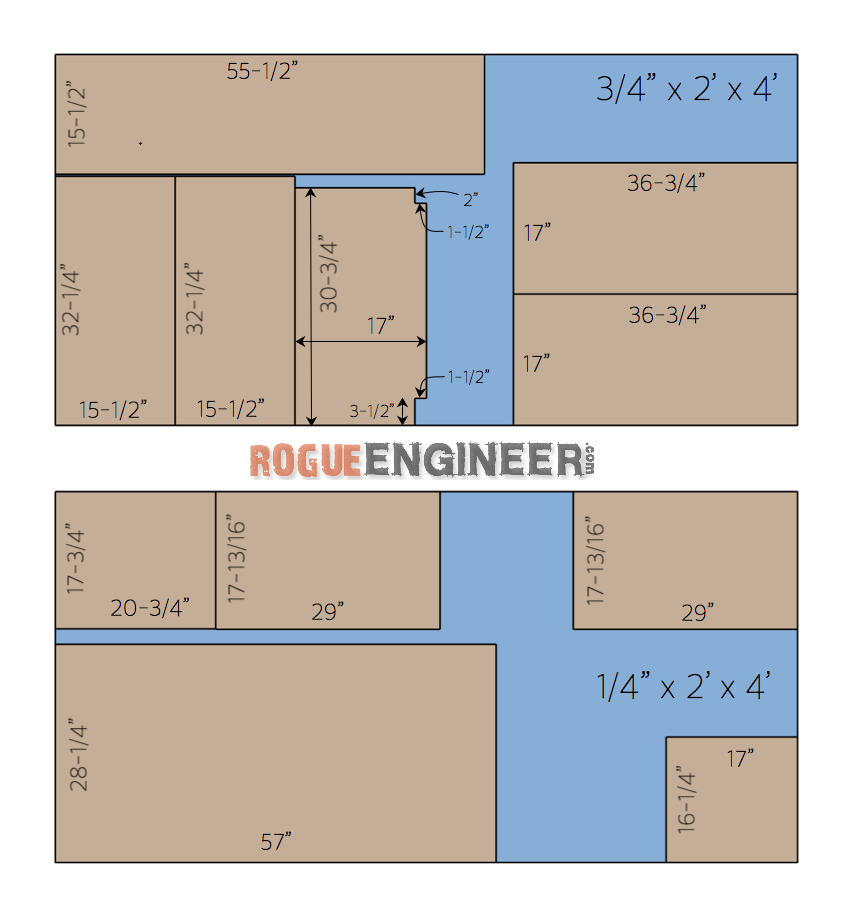
How to build a Farmhouse Buffet
If you decide to take the plunge and build this farmhouse buffet, I recommend you download the printable pdf to have with you in the shop. Otherwise, enjoy seeing, step by step, how this came together for me!

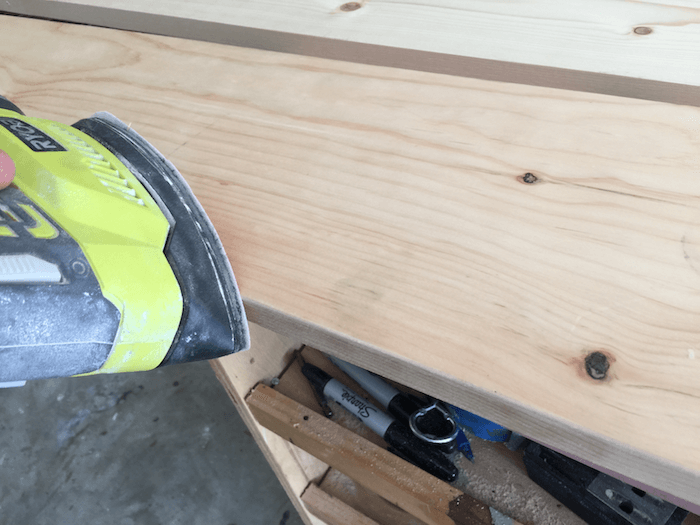
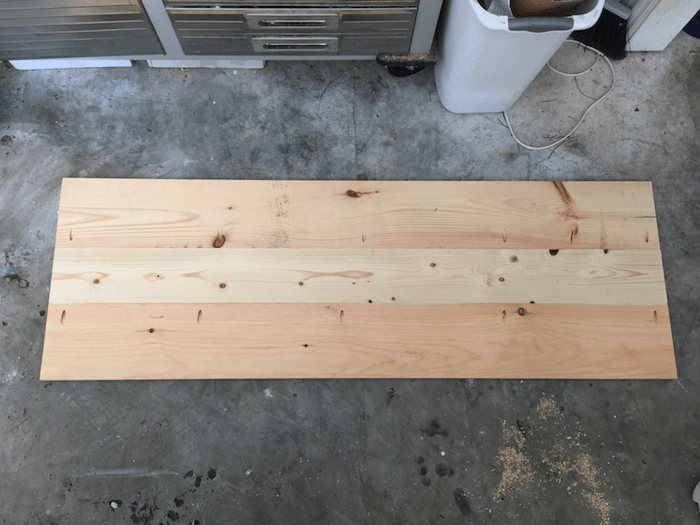
Using a sander, I slightly rounded the edge of the boards before assembly. This helps give the planked top appearance versus a seamless finish.
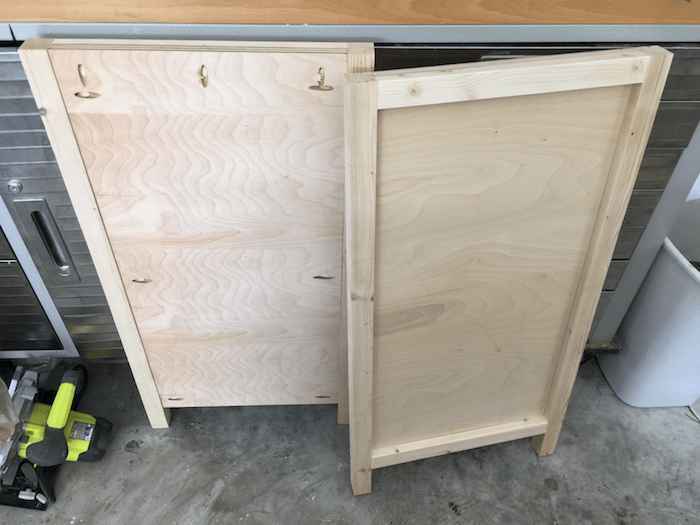
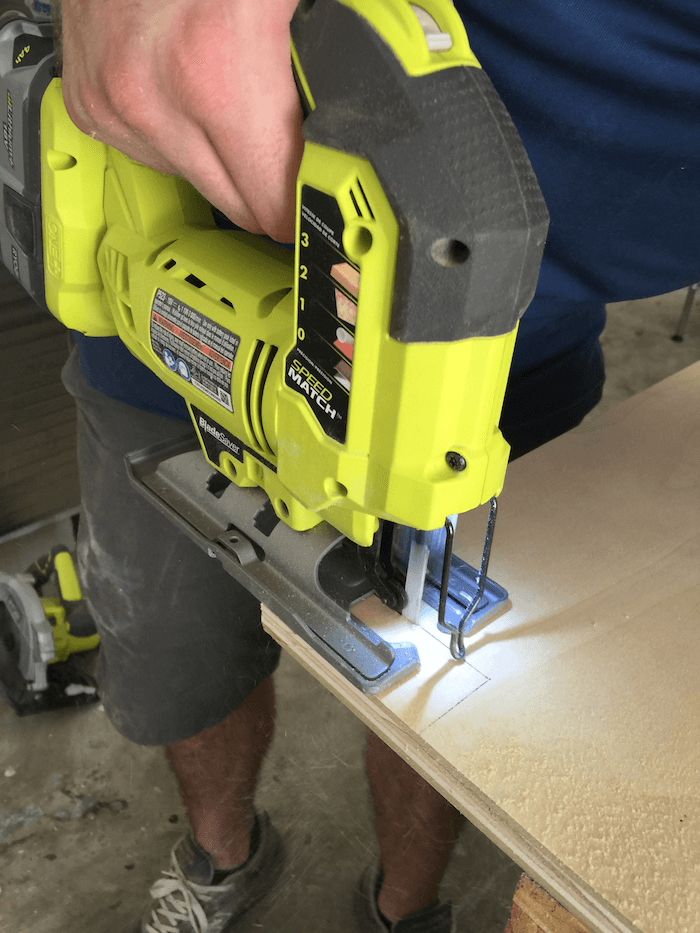
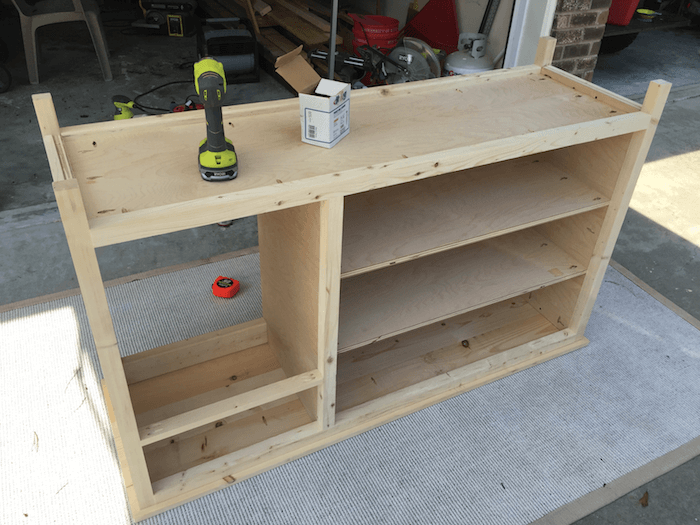
If you haven’t already cut the notches out of the divider panel you can do so now with a jig saw and fine finish blade. Refer to the cut list for dimensions.
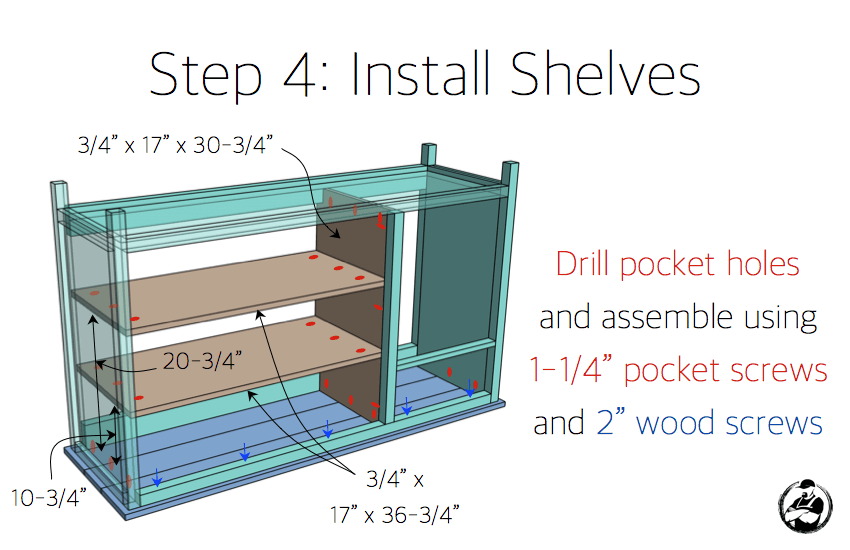
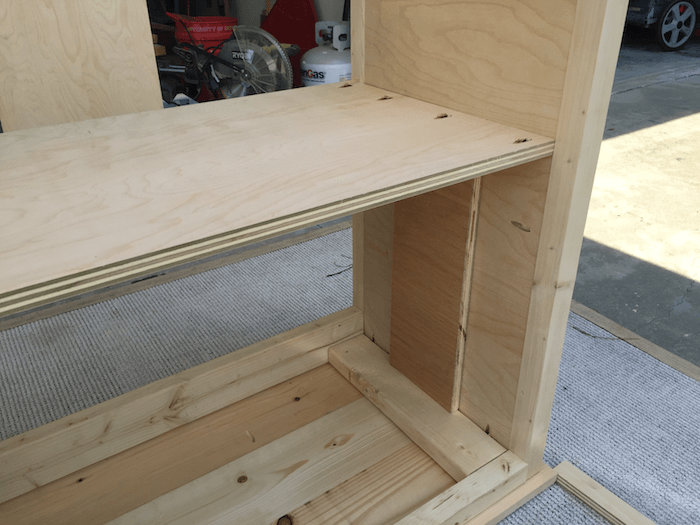
I cut two temporary supports to hold my shelves at the right height during installation.
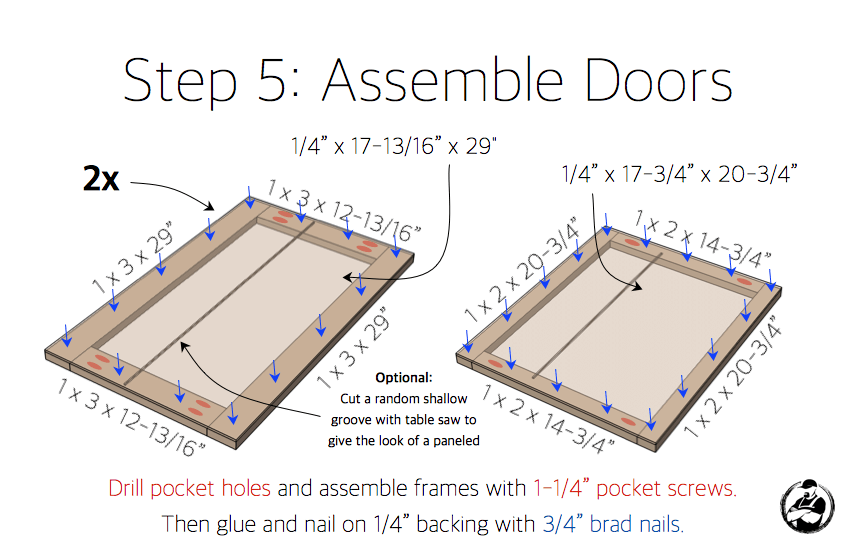
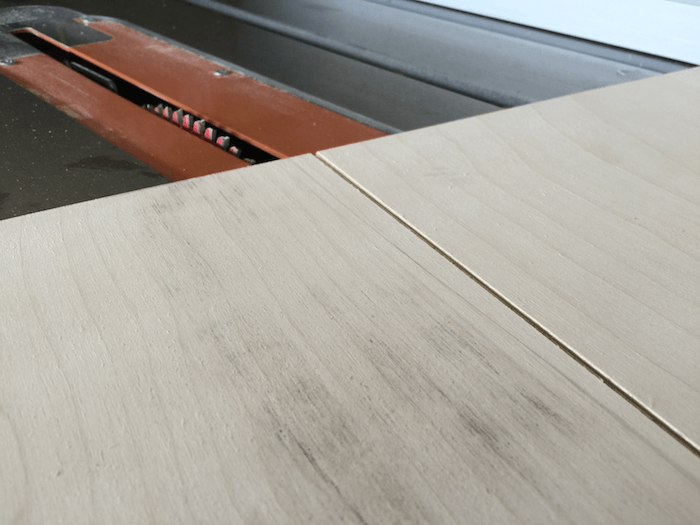
I cut a small groove in my 1/4″ ply, probably 1/16″ deep. This cut was off center and I did the same cut on each of my plywood doors. This line makes the door panel look as though it was two pieces of wood, similar to the top.
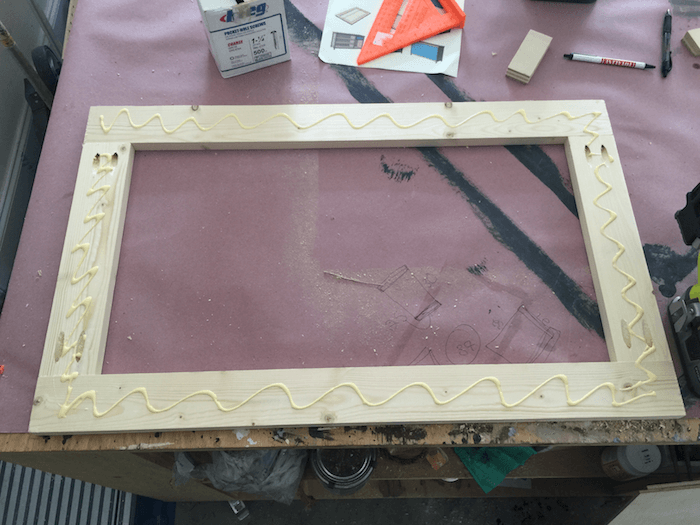
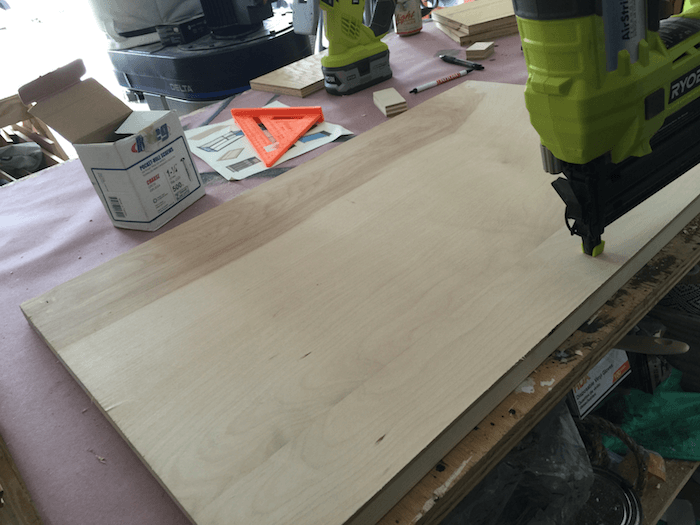
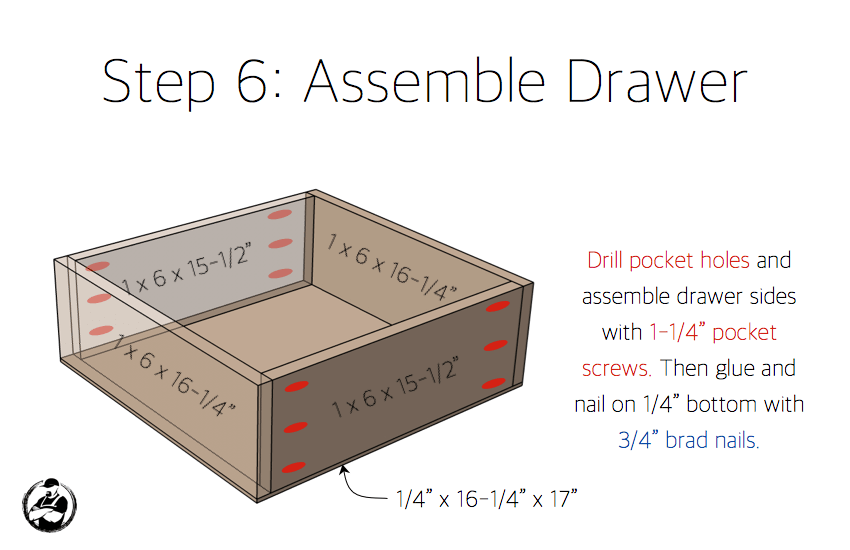
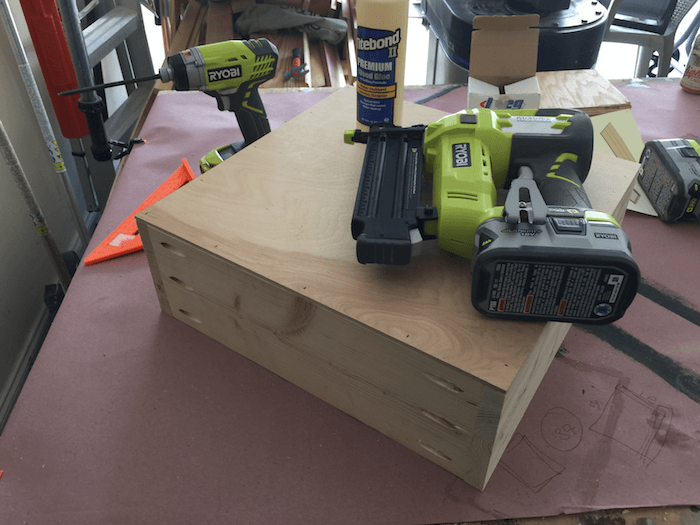
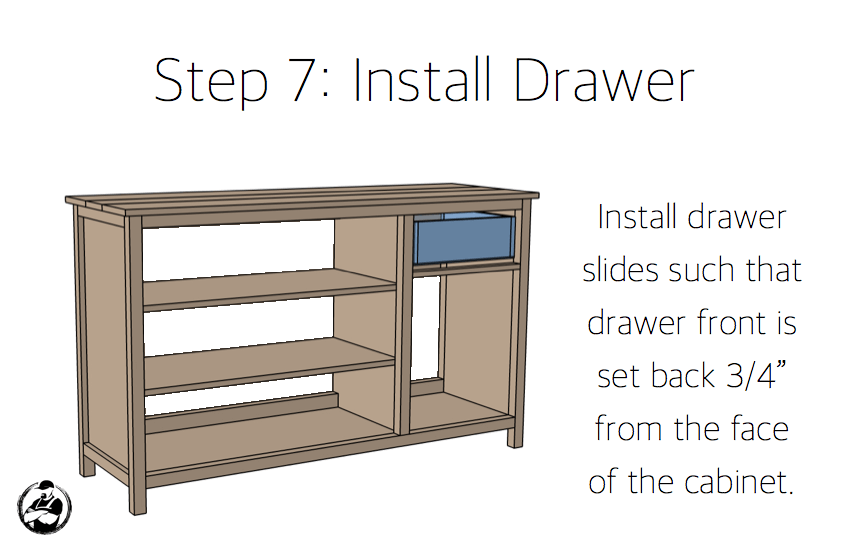
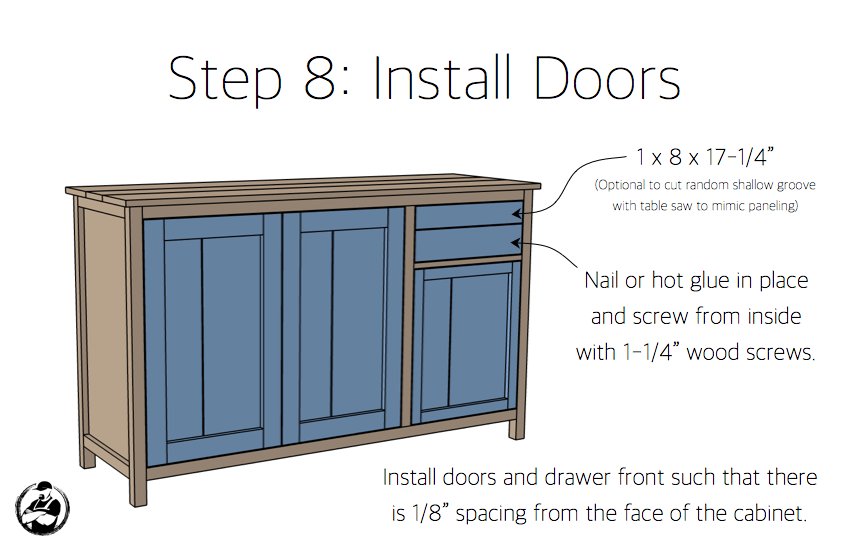
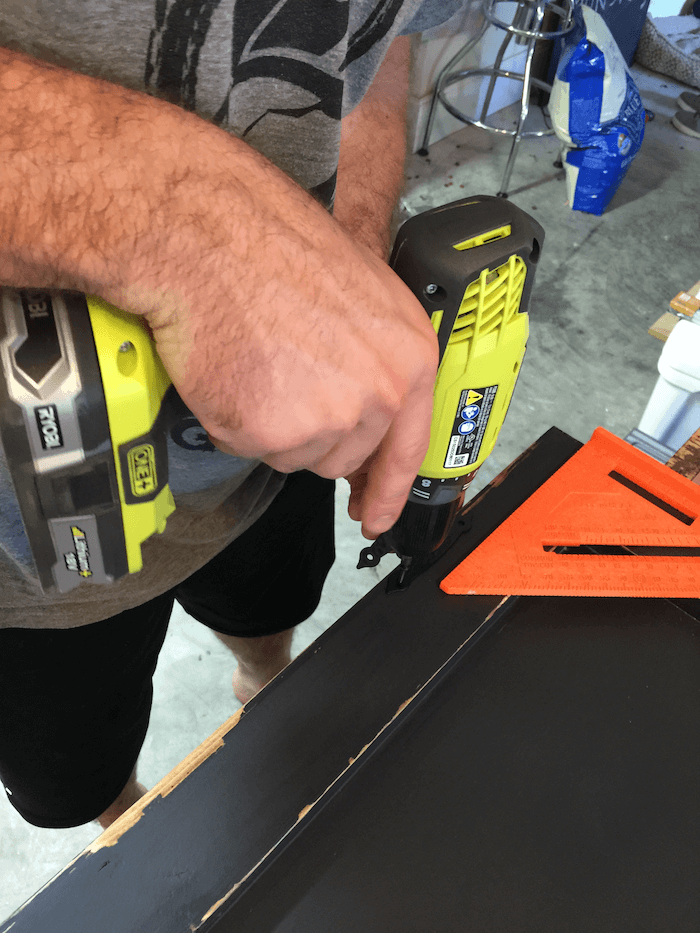
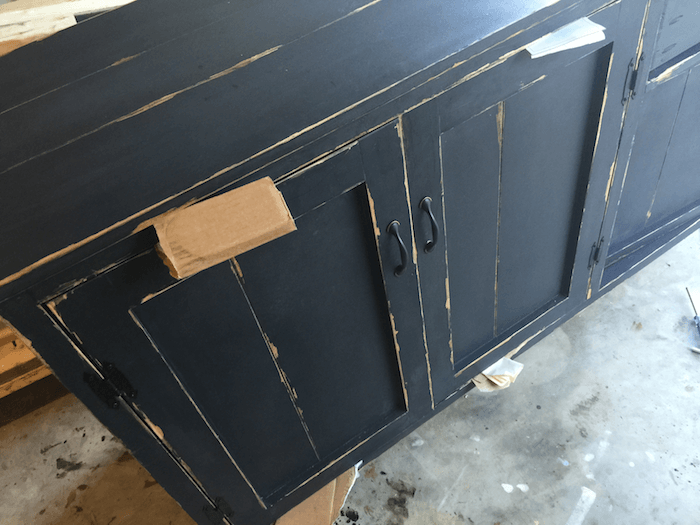
First install the hinges evenly on the doors such that the hinge point hangs just off the door.
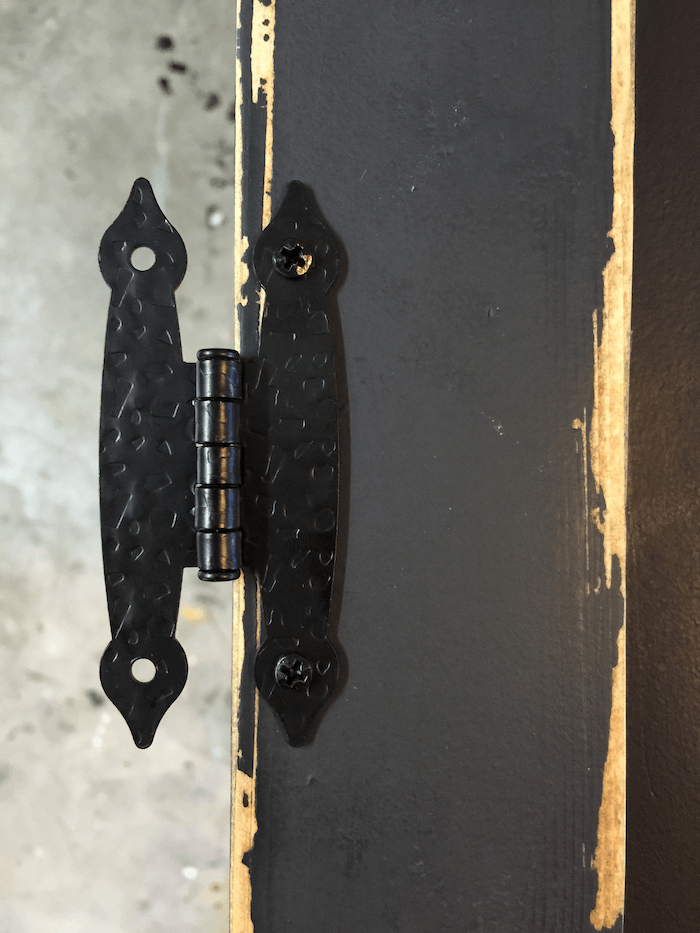
I use cardboard or shims to get the door situated just right before I attach the hinges to the buffet.

Finishing
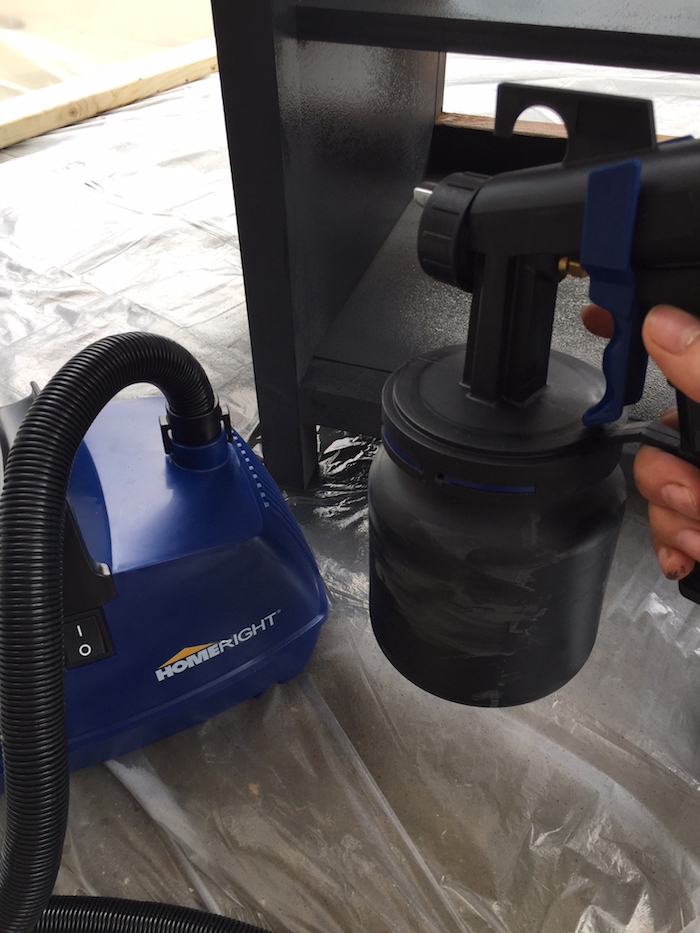
One of the best things about attending the Haven Conference this past July was getting introduced to new brands. When we spoke with HomeRight they said they would be happy to send us some of their products to try out. To be completely honest, I didn’t have high hopes when it comes to using a paint sprayer. I have tried to use a paint sprayer in the past, and lets just say it was a complete FAIL! That being said… I’m SO IN LOVE with this paint sprayer from HomeRight. They sent us the finish max and the finish max pro, I used both in this project to get a feel for how they both worked. I definitely preferred the finish max pro, simply because of the long hose made it easy to get around the entire piece. And yes, I texted this to my husband… my love is real!
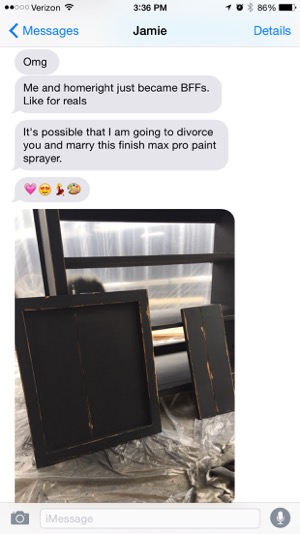
And so you don’t think I am completely insane, we live in Georgia, I painted this in the middle of August. So what would have taken me at least 2 hours and probably 2 coats of paint in the heat only took me 30 minutes and 1 coat of paint. I was completely finished during my daughters nap time… and that was AWESOME!

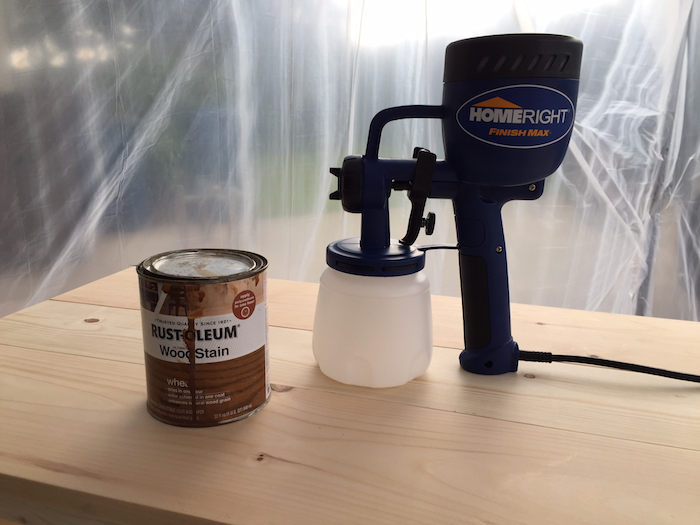
Since I was distressing this piece I only needed to focus on staining the edges and areas I wanted distressed. For this I used the Finish Max from HomeRight to spray on my stain, Rust-Oleum Wheat, and wiped down using a stain rag. Don’t worry about being perfect, we are painting over it!
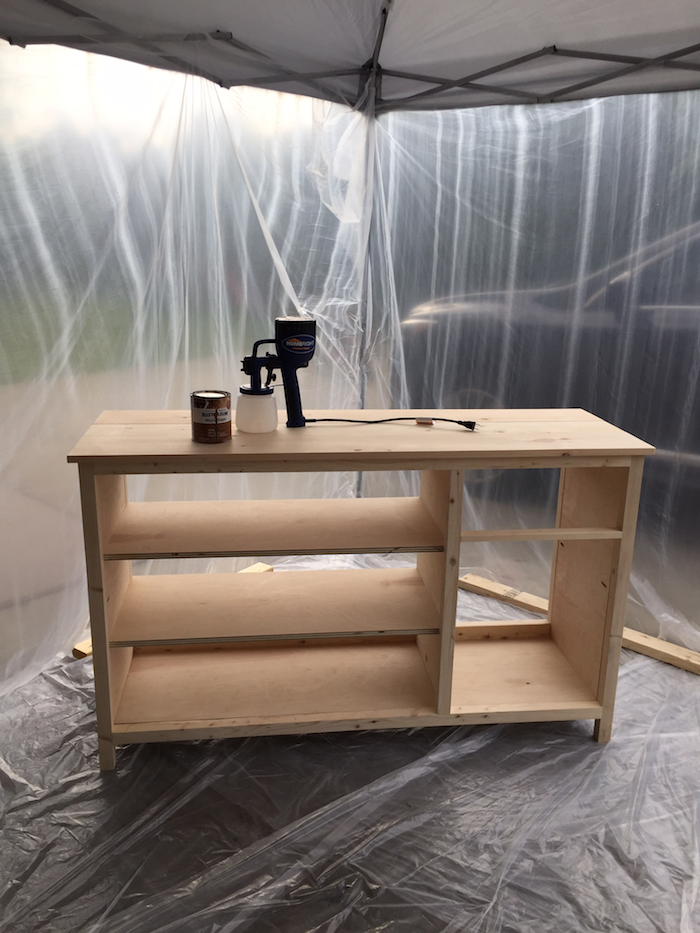
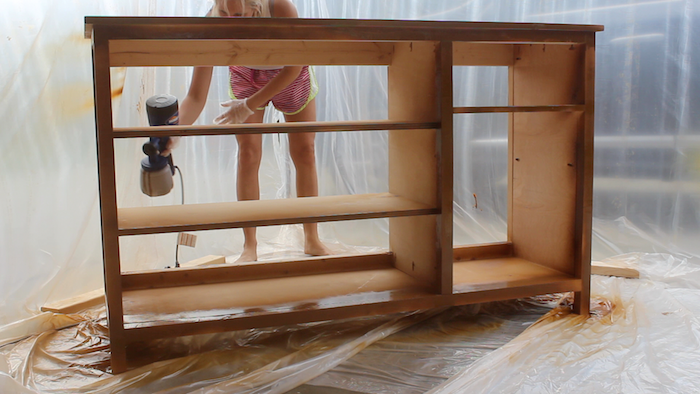
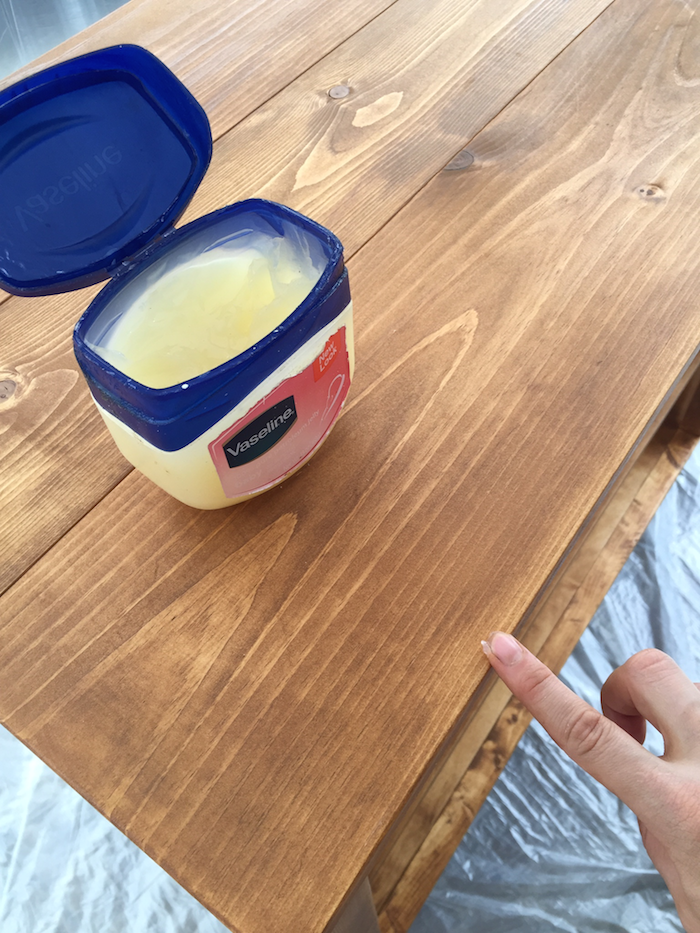
Now I used the good ole Vaseline distressing paint trick. For this you simply use your finger and rub a thin layer of Vaseline on the areas you want distressed. Mostly, the edges and places that would normally get wear.
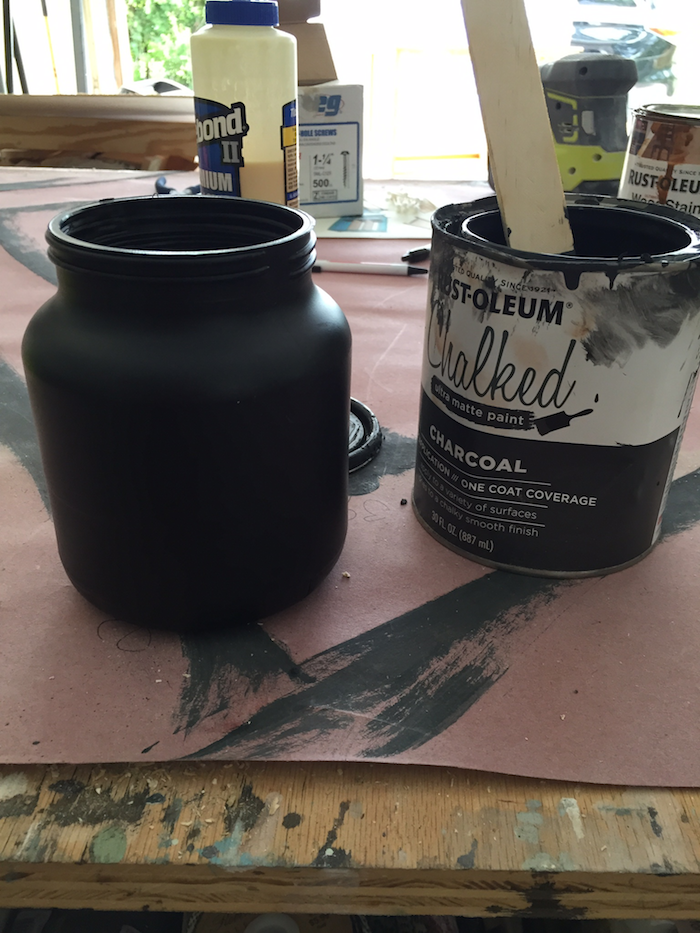
Now for the fun part! With the finish max pro from HomeRight, I sprayed on a coat of Rust-Oleum Chalked Paint in Charcoal. Since this paint is a little thicker than normal, I used about a 1/4 cup to water to thin it down to allow the sprayer to spray a more even coat. I tested out the sprayer on a scrap piece first to ensure I had the right paint consistency and spray adjustment.
I seriously can’t tell you how much time this saved me. I normally use a brush and paint in the corners, then come back with a foam roller, and usually have to do this about 2 times in order to get good coverage. With this sprayer it was SO easy!
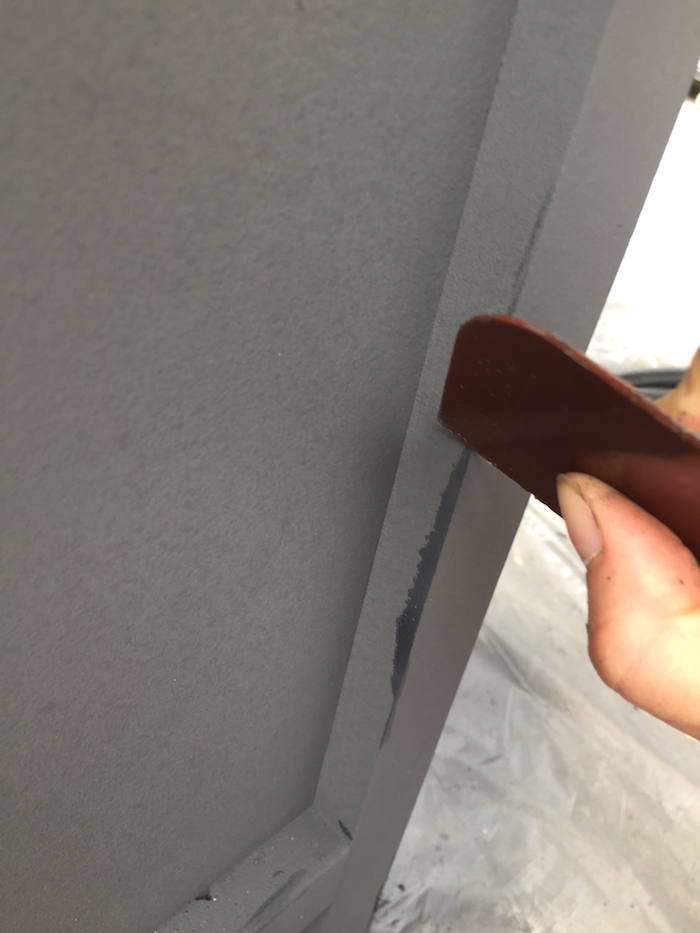
After I let the paint dry for about 4 hours, it was time to distress. What I love about using the Rust-Oleum chalked paint and Vaseline, is that the areas which you rubbed the Vaseline will remain darker. So its easy to know where you need to use a scraper or sand paper to remove the paint.
To finish, I wiped on a coat of Johnson Paste Wax with a stain rag. I love how the wax finish brings a whole new color to the piece.
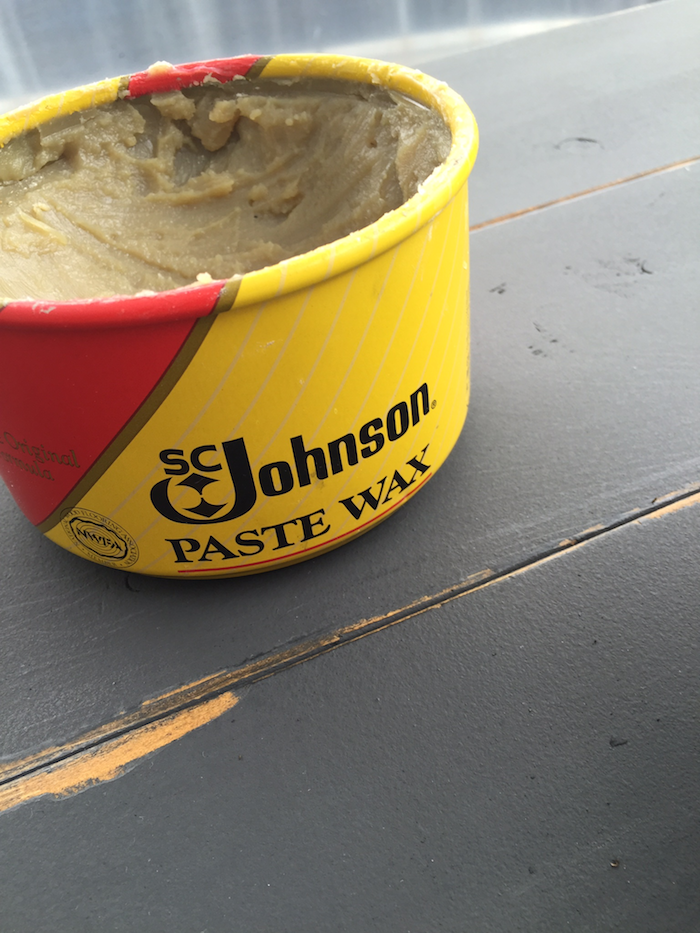
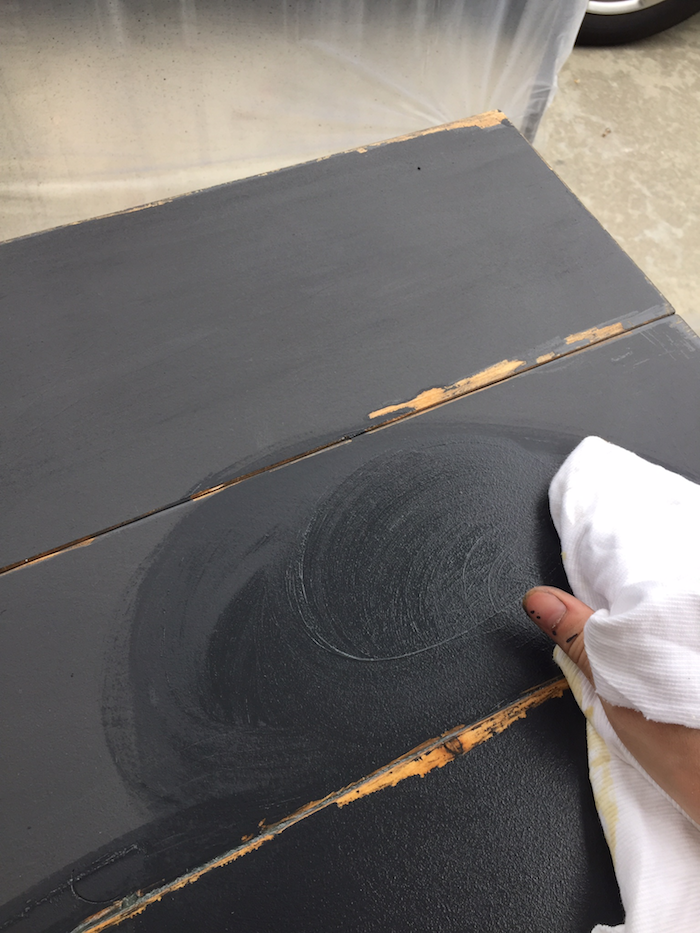
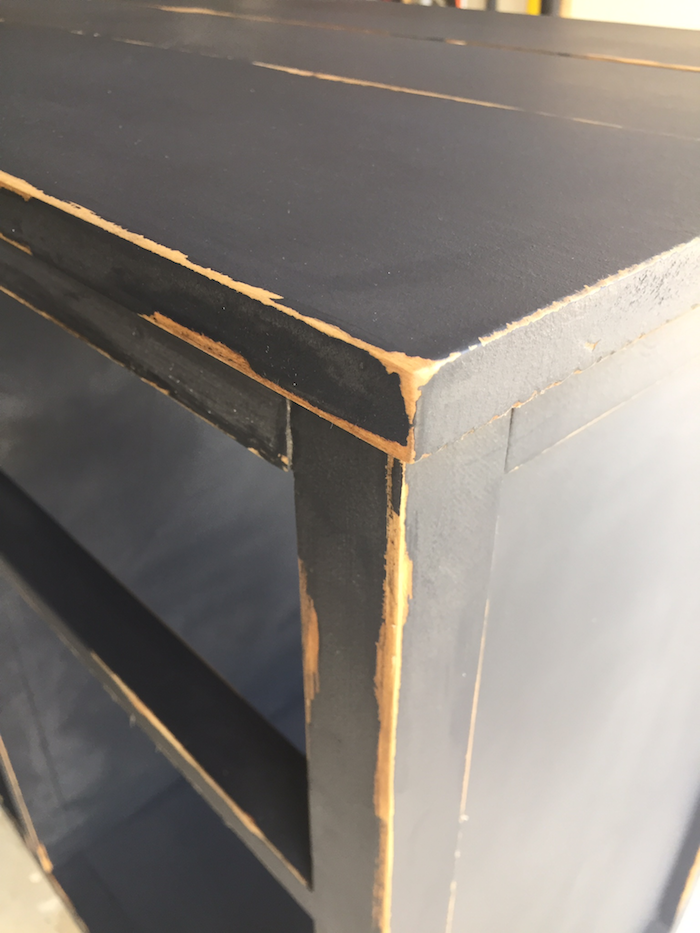
I hope you all enjoyed this finishing tutorial, I know I enjoyed the paint sprayers from HomeRight

Questions? Comments?
As always, if you have any questions don’t hesitate to comment below and especially don’t forget to post pictures of your finished products in the comments! ENJOY!
I love this! Wonderful job on the finish!
Thanks Ashley!
I saw this on lumberjocks and it is great. I was more curious about the finish because I have a version of a Dutch tool chest that I just built and was stymied as to how to get the finish I wanted, thanks. This will work out very well.
Good job.See ya in the woodshop.
Awesome! Glad you found us and I hope the section on finishing will be helpful to you. If you run into any questions along the way feel free to shoot me a message.
Howdy, neigbors! Jamie, this build looks awesome. Thanks to your great plans, I now have to build this for my girlfriend. Thanks…I think. LOL! Your wife did a fantastic job finishing this buffet. I showed this build to my girlfriend and she was just as interested in the fork and spoon on your wall because she has been looking for these for months. Do you know where those came from? Thanks for all you do, and keep up the great projects!
Thanks! haha I knew I would get that question sooner or later. The spoon and fork were actually given to us by my sister-in-law. Not sure where they came from, sorry I am no help on that! Best of luck on your build, as always if you run into any questions along the way just shoot me a message!
The two sheets of Plywood in the cut list are labeled 1/4″ and 3/4″ x 2′ x 4′. Should that not be 4′ x 8″?
Good job on the buffet. It looks awesome. 🙂
Good catch. Ill fix that right away. Thanks.
I am in love with this buffet! It’s giving me great inspiration for a corner in my kitchen the contractors left empty that needs to be filled with something like this!
Awesome! I’m glad it could inspire you. If you build it be sure to share pictures!
Hey Guys,
First of all, I love Jamie’s tutorial and I’m featuring it on my site today.
Second, I am about to finish a couple of barstools that I built and I’ve been leaning toward a finish like this. I have never worked with chalk paint before, though. My question is – Would this type of finish hold up well on a piece that will get fairly heavy use (sat on a bunch)? Would the wax finish come off on your clothes when you sit on it?
Thanks!
Hey Seth,
Thanks for featuring it on your site. We have used the chalk paint on a few pieces before and it seems to hold up very well. We even have it on our dining room table with a wax coat on top and it has held up great… and we have 2 extremely messy children! I don’t think the wax would be an issue rubbing off on clothes, but if you are worried about it then you can alway finish over top with a poly.
I and my daughter like this piece. Do have plans already designed for this one or considered a hutch to sit on top of it? If so we would be interested in that addition.
That’s a great idea Mike. Unfortunately, right now I don’t have plans for that.
Jamison, thank you first of all for the great plans. I had a question on the finish can you get the same results using brushes?
Dan, I would recommend using a foam roller to get the same finish. When you use a brush it can cause the vaseline to smear more, which may mess up the result of the finish. But a foam roller will work great.
Jamison, any way to adjust the plans to allow the space under the drawer to be open, with no back? Also, would a granite top be an option? I’m looking to build something that I could use as an extra work space in my kitchen.
I think that is doable. Just omit the door, part of the back panel and shorten the slats on that side to make it completely open. And I think granit would be a lovely option, just adhere it to the table and you should be fine.
do you think wire mesh doors would look good on this?
I do! That would be a great idea!
what size drawer slides to use?
16″ slides. Thanks for asking, I see now that I didn’t include that in the materials list.
I’m half way done on this buffet and will post pics when completed.I also can’t wait to use my new finish pro
Awesome can’t wait to see it and having a sprayer make finishing so much easier.
finished
That looks amazing Henry! Great job with the build and the finish
This looks great! Did you apply a stain or dark paint under the white?
Yes i just applied stain in the places I wanted to distress,then use the Vaseline technic and then sprayed it with my home right sprayer
Thank you!
Finished product. My wife and I really love your designs. I was wondering if you would be willing to share what software you use to draw up your construction plans?
Thanks Tate, that means a lot! And sorry, this one slipped past me. The plans are modeled in SketchUp, then I dimension the drawings straight off the 3D model. The free version gets you most of the way there if you want to try it.
Here’s the finished product. My wife and I really love your designs. I was wondering if you would be willing to share what software you use to draw up your construction plans?
That is awesome Tate! Thank you so much for taking the time to share. I use Google Sketchup for design. Its a great, free design program and there is lots of free tutorials and such out there.
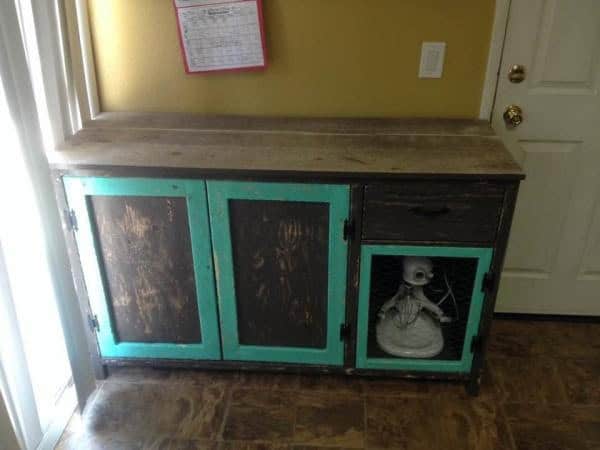
Thanks for the plans, here is our take on it. One last thing to get done, My wife wants to tile the top so will update when complete.
Finished the tile top.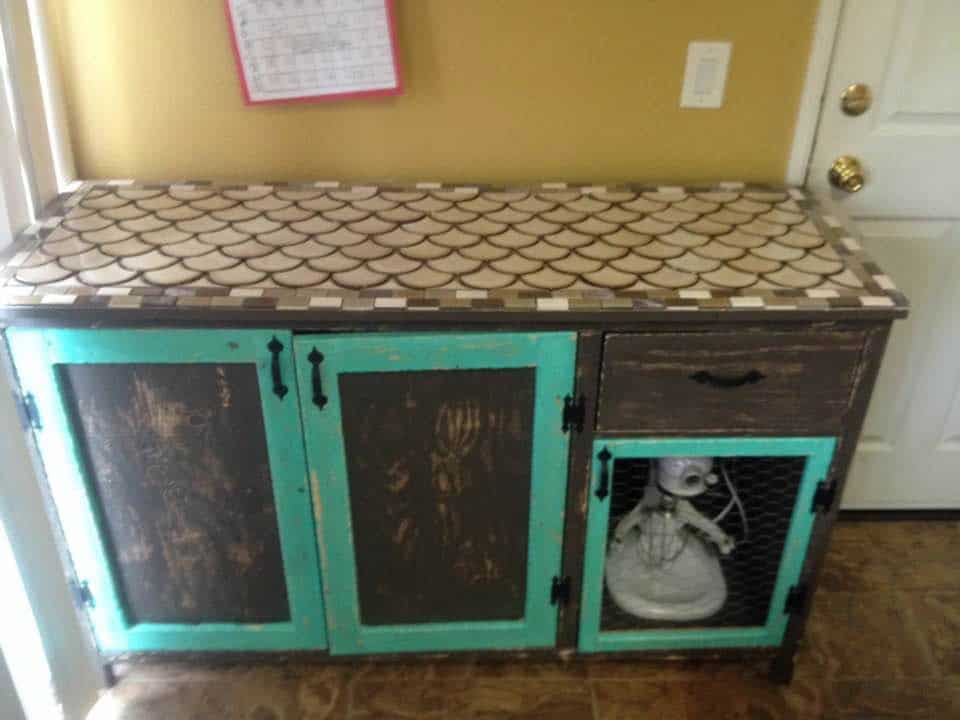
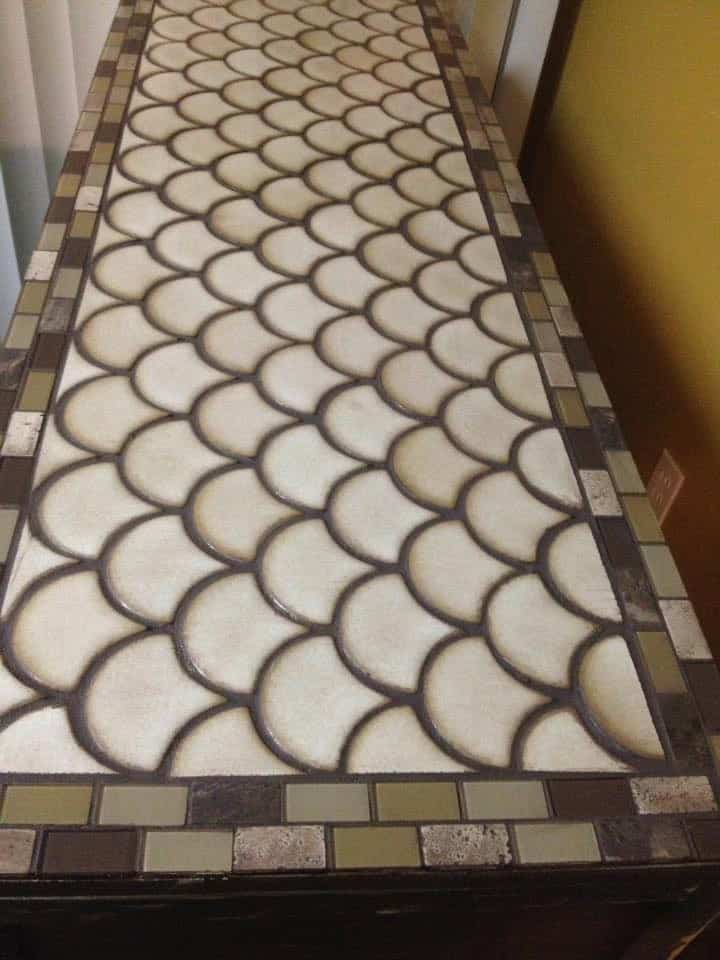
Your wife and I sound like kindred spirits – coming up w projects for our husbands. I am so in love with this, it’s going to move to the top of the list!
Ha! Yes she has an endless list of projects! This farmhouse buffet is still one of our favorites. Happy Building!
I don’t see any mention what to do with the 4 15 1/2 1x2s, I think they go under the shelves but didnt see you add them. Are they not necessary?
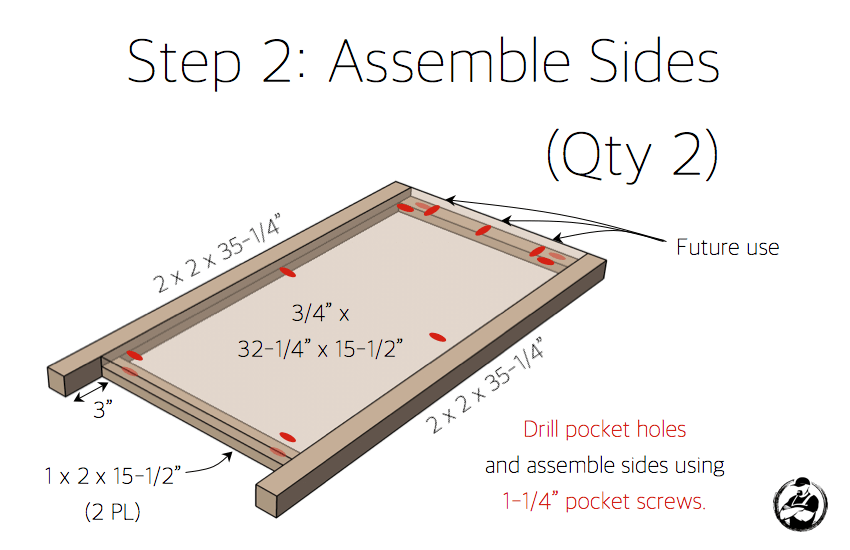
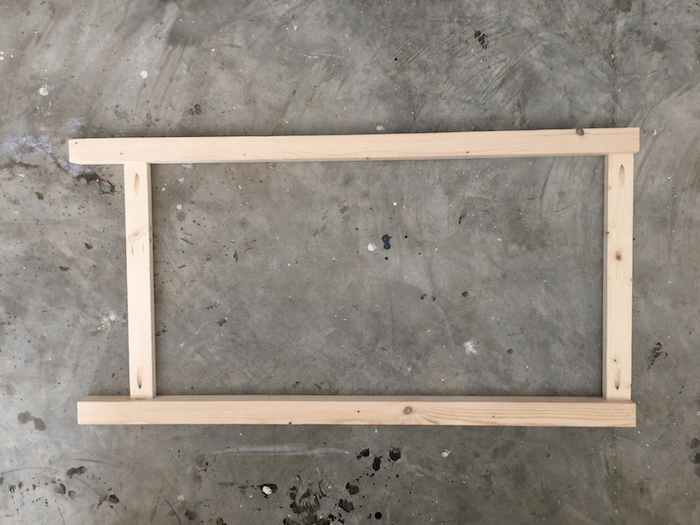
Tony, I realize your question was from four months ago, so you likely figured this out already. The 15 1/2″ 1x2s are part of the side assembly. See STEP 2. Hope this helps.
Can you add the materials list to the printable PDF?
Then I have all the info I need on the same paper from store to finish!
Thank you – love your plans
Built this buffet this weekend. Had to adjust the dimensions a little to fit the nook but it turned out great. Thanks for the plans. Looking forward to building more of your projects. https://uploads.disquscdn.c…
https://uploads.disquscdn.c…Love the plans. Thank you so much!
Im a newbie but I saw this on Google images and i went berzerk!!! Ive only built a headboard but getting ready to tackle this!! Im soo soo inlove with the whole piece finish everthing ive been looking for! im so excited
We loved your design so we decided it would be perfect for our dining room! Such a fun project with esay to follow directions. https://uploads.disquscdn.c…
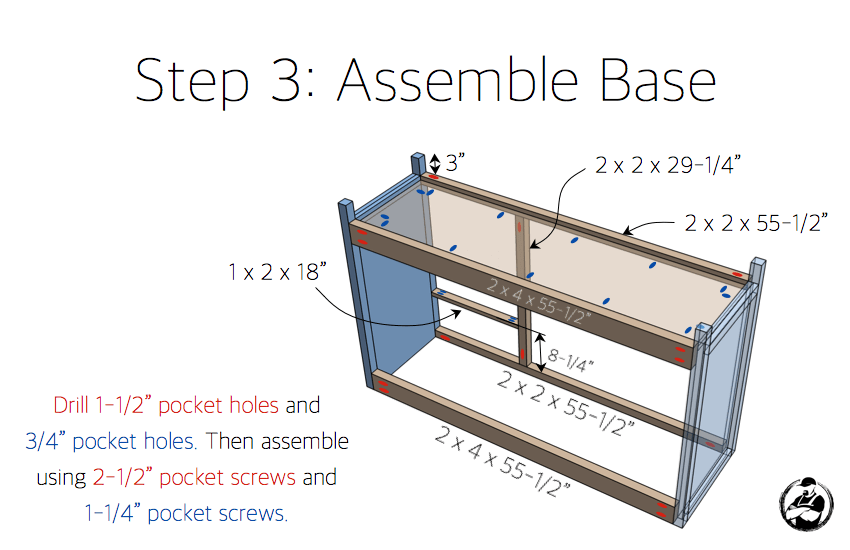
Novice builder question: For Step #3 why drill 1.5” pocket holes and then use 2.5” pocket screws and then drill 3/4” pocket holes and use 1 1/4” screws? For other steps you are instructing to drill pocket holes and use a specific size screw but here you instruct to use different sized holes with different sized screws.
Just found the answer to my question: When setting up the drill guide, drill bit depth collar and choosing screws for different thicknesses always set up to join the thinnest piece you’re working with. :))
Wondering if anyone has the pdf plans available, it seems the link to the plans is no longer working?
Did you ever get the plans?
Never did, had to piece together from the website
Can anyone email the plans? The link is still broken